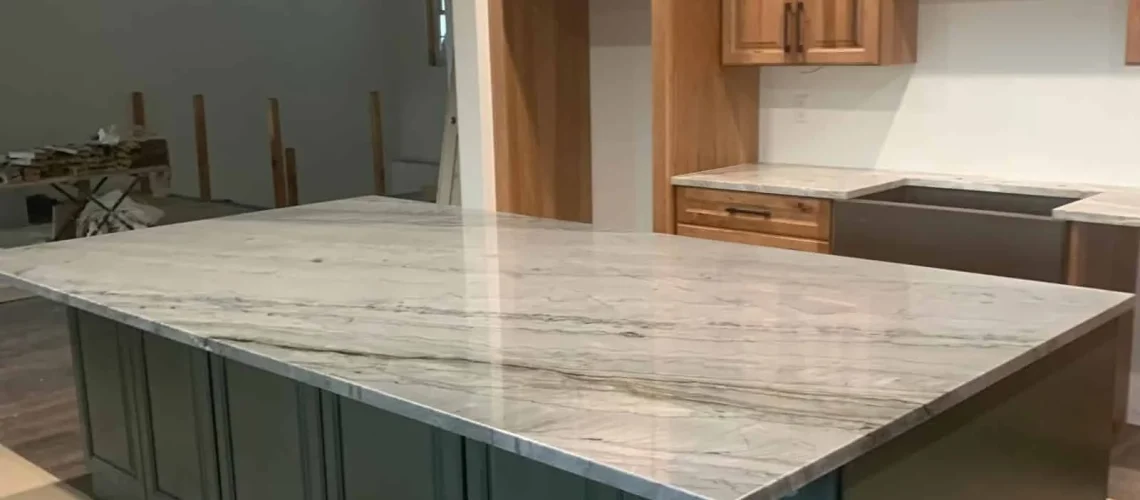
Installing countertops in your kitchen can significantly change the look of your space, but it requires a bit of work and planning. Whether you’re renovating or upgrading, following the right steps ensures your countertop installation goes smoothly. Here’s a quick step-by-step guide for installing countertops in your kitchen.
Step 1: Measure and Plan Your Layout
Accurate measurements are the foundation of a successful installation. Measure the length and width of the area where the countertop will go, noting any irregularities or cutouts for sinks and appliances.
A proper layout helps avoid issues later on, especially when it comes to fitting multiple countertop sections together.
- Measure for overhangs: Ensure a polished look by considering the overhang, which provides a professional finish.
- Account for seams: Plan for seams, making sure they’re placed in areas that are less noticeable.
- Double-check measurements: A quick recheck ensures accuracy and avoids costly mistakes.
Good measurements mean your countertops will fit perfectly, ensuring a hassle-free installation.
Step 2: Choose the Right Countertop Material
Selecting the right material is key to both the aesthetic and functionality of your kitchen. Your choice will affect the look, maintenance, and durability of your Idaho Falls ID countertops. Popular choices include:
- Granite: Durable and heat-resistant, granite is ideal for high-use areas, offering timeless beauty.
- Quartz: Low-maintenance, durable, and available in a variety of colors and patterns.
- Laminate: Affordable, and available in many colors and designs to fit different budgets.
Pick the material that suits your kitchen’s needs, your budget, and your desired look.
Step 3: Remove Old Countertops
Before installing new countertops, the old ones must come off. This step ensures your new countertops are installed on a clean, sturdy surface. Here’s how:
- Disconnect plumbing: Make sure all water supply lines are safely disconnected.
- Unscrew the old countertop: Use a power drill to remove screws and detach the countertop from the cabinets.
- Lift and remove: Carefully lift the countertop and remove it without damaging the surrounding areas.
Check the cabinet frame for any necessary repairs before proceeding.
Step 4: Install Your New Countertops
Now for the exciting part—installing your new countertops. Here’s how to secure them properly:
- Start with the longest section: Begin by placing the largest piece into position.
- Use a level: Check to ensure your countertop is even before securing it in place.
- Attach the countertop: Secure it using screws or adhesive, depending on the material.
- Align seams tightly: Make sure seams are aligned properly for a seamless look.
Once installed, check for alignment and secure all sections tightly.
Step 5: Finish with the Backsplash
After securing the countertops, it’s time to install the backsplash. This final touch adds both protection and style to your kitchen.
- Measure and cut: Carefully measure and cut the backsplash to fit your space.
- Apply adhesive: Secure the backsplash by pressing it firmly into place.
- Grout and seal: Apply grout and seal the edges for a polished look.
This last step can tie your kitchen together and complete the look beautifully.
Conclusion
Installing countertops in your kitchen may seem challenging, but following these steps will ensure a smooth and successful installation. Whether you choose to do it yourself or hire professionals, careful planning and execution are key to achieving a beautiful and functional kitchen.
Call Custom Royal Countertops & Tile at (208) 313-8385 today for expert installation services. We’ll help bring your kitchen vision to life!

